Elevation Gain Analysis: Your Trail GPS Metrics Playbook
By Marta Kovács • 6th May
Why GPS Trail Running Metrics Interpretation Matters for Vertical Gain
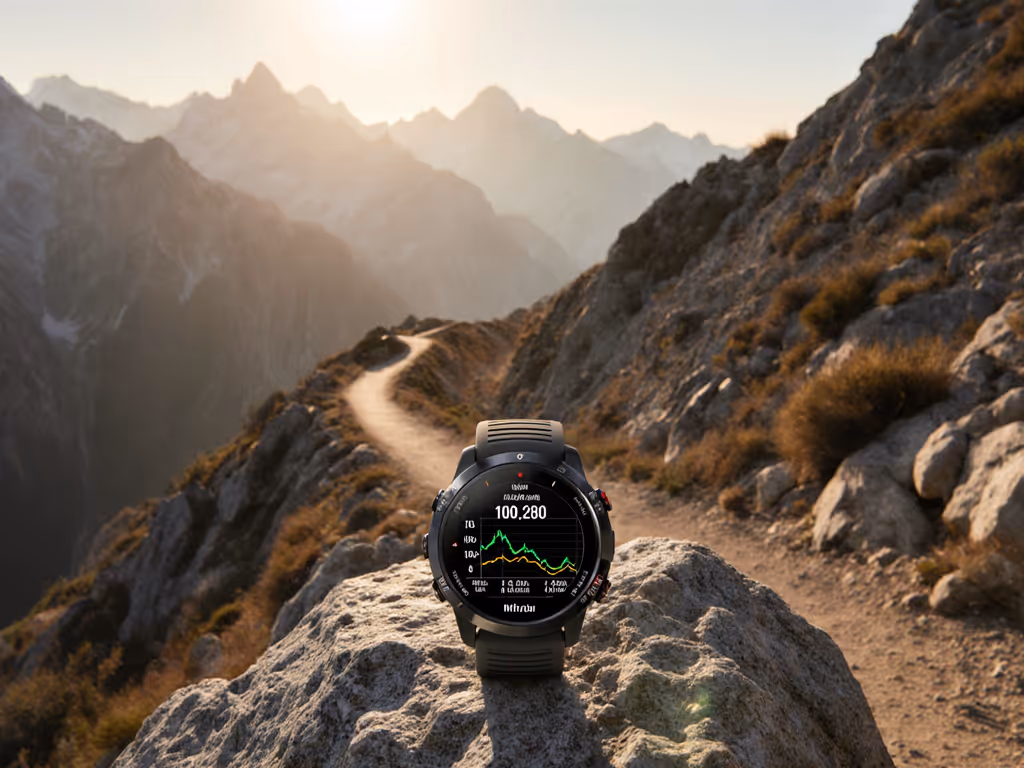
You're looking at your watch after a climb. It says 3,200 feet of elevation gain. The app next to you shows 2,900. Neither matches the benchmark GPX from the guidebook, which logged 3,100. You trust one number less than the others, but which one? And more importantly, which one do you need for your next training block or expedition?
GPS trail running metrics interpretation and elevation gain analysis for runners is not about bragging rights, it's about safety and load prediction. If you're planning a five-day traverse and your elevation budget is wrong by 15%, your food, water, and pace strategy collapse. Cold doesn't forgive miscalculation. Batteries lie; logs don't, budget before you boot, always.
This guide walks you through the sources of elevation error, the setup checklist, and the data application workflow that separates guess from knowing.
How Elevation Is Actually Measured
Your watch uses two methods:
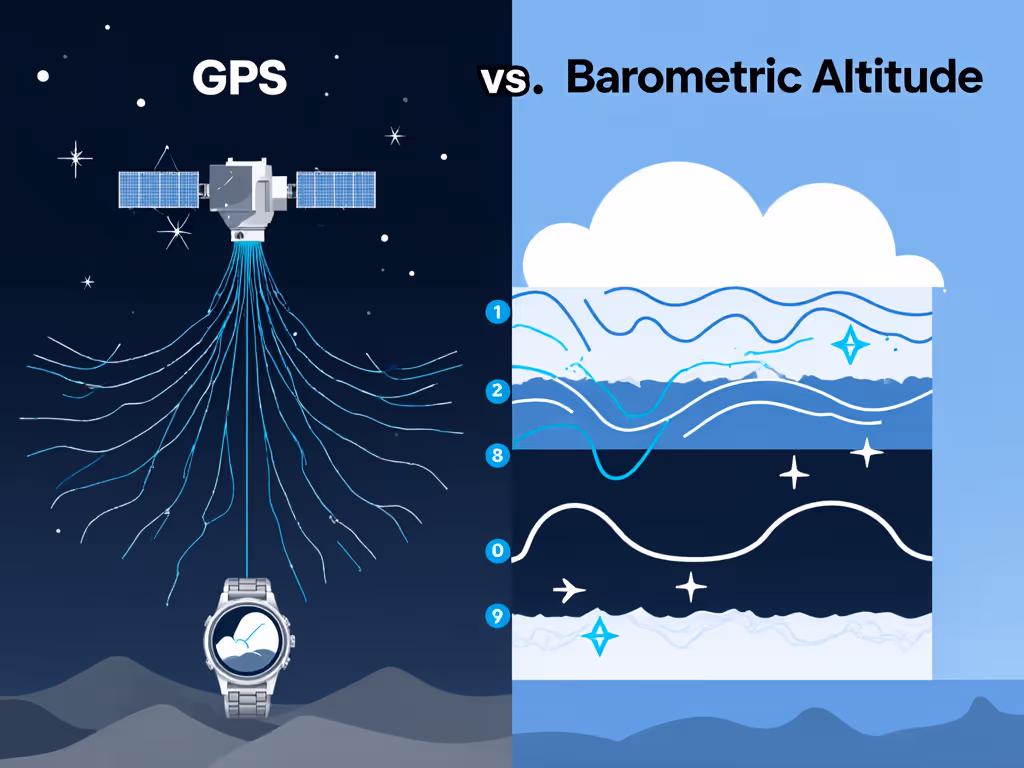
1. GPS (vertical component) GPS altitude is inherently noisy. It's the least-accurate axis of a position fix. Even with a strong satellite constellation, vertical error can swing ±10-20 meters per sample. Dense forest, canyons, and urban terrain push that error much higher. GPS alone cannot be trusted for climbing calculation.
2. Barometric Pressure (altitude-to-pressure conversion) Your watch contains a barometric sensor that reads air pressure and derives altitude using a sea-level pressure standard. This is far more precise for relative elevation, detecting 50 meters of gain is possible. But the barometric calibration is only as good as your baseline reference. If sea-level pressure is wrong, everything downstream is skewed.
Most watches auto-calibrate baro pressure at startup or when GPS locks to a known location. This is convenient, and a failure point. If you calibrate at 6,000 feet during a rapid pressure drop before a storm, your baseline is already wrong. If you never recalibrate, sensor drift compounds over weeks.
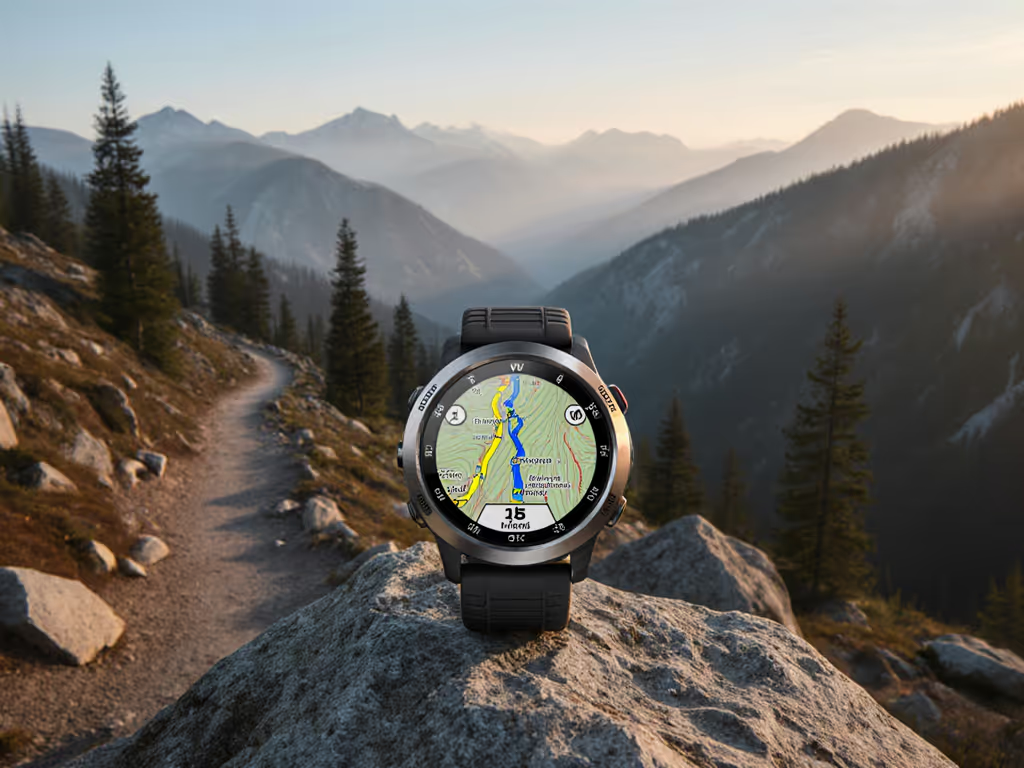
Trail Grade Metrics and Off-Road Cadence Analysis
Beyond elevation, your watch is also recording trail grade metrics and off-road cadence analysis (the steepness and your step frequency). A 12% grade at sea level is different from 12% at 13,000 feet (lower oxygen, higher perceived effort). Your cadence may drop 15-20% in thin air. Generic pace alerts are useless here; context matters.
Surface type tracking accuracy is another axis. Soft snow, scree, and rock impose different effort profiles than groomed trail. Your watch can't see surface; it infers from GPS drift, accelerometer noise, and barometer response. Expect 5-10% variance in vertical gain calculations when you switch from groomed trail to talus to snow.
Common Elevation Errors and What Causes Them
| Error Source | Impact | Symptom |
|---|---|---|
| Baro baseline uncalibrated | ±5-15% vertical gain error | Consistent over-/under-reporting across whole activity |
| Rapid weather pressure swing | ±3-8% vertical gain error | Gain spikes mid-route without actual climbing |
| GPS multipath (trees, rocks) | ±20-50 m per sample | Jagged elevation profile; false dips and peaks |
| Altitude mode disabled | Relies only on GPS | Noisy, unstable traces; poor repeatability |
| Firmware calibration bug | Systematic error | Reproducible error on same route at same time of year |
| Cold thermal drift | Sensor response lag | Undercounting gain in sub-zero temps (especially baro) |
Your Calibration and Setup Checklist
Before every multi-day outing, run this sequence: If you're unsure which satellite systems to enable, see our multi-constellation GPS guide.
- Record baseline pressure: Stand at a known elevation (start/trailhead, benchmarked on a map or USGS database) for 2-3 minutes in still air. Note exact elevation. If possible, use a second barometer to verify.
- Force baro calibration: Disable auto-calibration if you must. Manually set the barometric baseline to match the benchmarked elevation.
- GPS acquisition test: Wait for full GNSS lock (not just GPS; if your watch has multi-constellation, enable it). This may take 30-120 seconds in canopy.
- Verify against known route: If you have a previous GPX of the same trail, download it and compare. Is the elevation profile shape consistent? Allow ±3-5% variance.
- Test in your conditions: If you're heading to high altitude or extreme cold, do a 30-minute test run at night or in similar weather. Cold can halve battery life and slow sensor response. Better to know now.
- Check firmware version: Is your watch on the latest stable release? If a critical navigation or baro calibration update was recent, re-test your baseline after the update.
- Create a preset for your activity type: Store your tested calibration as a custom mode. Two is one, one is none, if the watch reverts to defaults or you swap devices, you have a known-good config ready.
Interpreting the Numbers: What the Data Really Says
After your run, you have three elevation figures:
-
Gross elevation gain (total positive meters/feet): This is what your watch reports. It's the sum of all upward segments, including noise and GPS jitter. Expect ±5-10% variance between watches and software platforms, even on identical routes.
-
Net elevation change (end elevation minus start elevation): This is the barometric derived altitude delta, stripped of noise. It's more honest but less dramatic, climbers obsess over gross gain because it feels longer.
-
Rolling gains (gained in each 100m/500m interval): Your watch may show cumulative gain but also interval breakdowns. These reveal where effort concentrates and help with pacing.
Which one do you use? For expedition planning, use gross gain, it reflects real work. For energy budgeting, compare gross gain to your known output (heart rate, time-in-zone) from similar routes.
If a 5,000-foot day typically burns X calories at your cadence and effort, that's your multiplier. Log it.
Presets for Common Conditions
High Altitude (>10,000 ft / >3,000 m)
- Baro calibration: Use USGS elevation or benchmark stake. Do not rely on auto-calibration from plane or car.
- Recalibrate every 5,000 feet of gain. Pressure gradients change faster at altitude.
- GPS: Multi-constellation mode if available. Single-band GPS drifts more at altitude. To avoid altitude-specific tracking errors, see our high-elevation GPS accuracy guide.
- Preset: "Alpine-Baro-Conservative" (disable solar charging if not verified, reduce map refresh to save battery).
Dense Forest / Slot Canyons
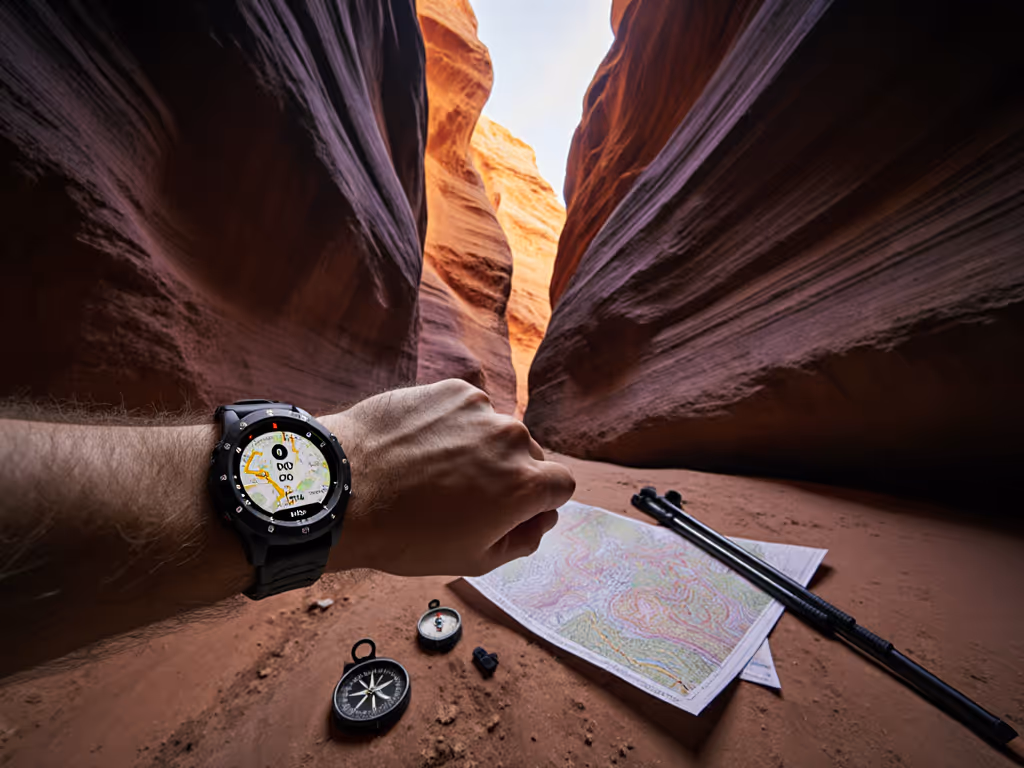
- GPS: Expect 3-5x normal multipath error. Accept ±50-100 m vertical variance. For narrow canyon signal strategies, read our slot canyon GPS navigation guide.
- Baro: Most reliable here (stable pressure). Trust it.
- Preset: "Canopy-Pressure-Dominant" (weight barometric data heavily; reduce GPS contribution to elevation calculation if your watch allows).
Cold Soak (below -10°C / 14°F)
- Baro: Sensor response lags. Expect 3-5% under-reporting of gain early on.
- Battery: Halves at low temperature. Reduce backlight, disable touch, use lower-power GNSS mode.
- Recalibrate after 1-2 hours once the device stabilizes thermally.
- Preset: "Polar-Efficiency" (map preload, smart sampling only, power-save mode mandatory).
Mixed Terrain / Scree / Snow
- Surface type tracking accuracy suffers. Your watch may see erratic accelerometer readings.
- Ignore cadence and pace alerts. Use elapsed time and gross elevation only.
- Preset: "Scramble-Pressure-Only" (GPS breadcrumb only; elevation from baro; no pace calculations).
Real-World Application: Using Elevation Data for Trail Running Planning
Let's say you're eyeing a 50-kilometer route with reported elevation gain of 8,500 feet. Your personal hours-per-gram math: you move 200 feet per 5 minutes on rolling terrain. Steep (>18%) slows you to 200 feet per 8 minutes. The math is simple, but the input has to be right.
- Get three data sources for that route: the official guidebook, a Strava segment, and a recently logged GPX from an ultrarunner you know.
- Compare the elevation figures. If they're within ±5%, you can plan around the average. If they diverge by 15%+, your watch may have recalibration issues, or the route changes season to season (snow filling gullies, washouts).
- Back-calculate your pace. 8,500 feet at your rate = 212 minutes of climbing, or 3.5 hours. Add flats, descents, and margin: 5-6 hours on legs. Adjust for your actual fitness and the terrain feel.
- Test on a section first. Run 10 km of the route in similar conditions. Log your actual gross gain, time, and heart rate. Compare to prediction. Update your personal multiplier.
- Set a contingency margin. If your math says 6 hours, plan for 7-8 hours of daylight buffer. If temperature drops or snow is present, add another hour.
This is not guesswork. This is risk-first framing: you know the error bound and plan around it.
Cold-Weather and Environmental Factors
On a five-night ski traverse, a cold snap hit faster than forecast. Everyone's battery life halved overnight. The barometric pressure swung 40 millibars in six hours, a pressure drop that signals a three-day storm. My spare power bank froze and stopped charging. The only reliable log was a watch I'd pre-tuned: reduced backlight, smart sampling of GPS only every five minutes, map data preloaded. Every day it recorded enough to navigate back, even when the temperature hit -22°C. For power-saving tactics that preserve tracking accuracy, use our GPS watch battery optimization guide. The difference was engineering, not luck.
Cold doesn't forgive improvisation. Barometric sensors slow down. Batteries lose 40-50% capacity in sub-zero temps, not gone, just temporarily depressed. Your elevation calculation depends on both. If you're planning a winter expedition, test your watch's behavior at night or in a freezer for an hour. Does the baro reading drift after the first 20 minutes? If yes, account for a recalibration halfway through the day.
Rapid pressure changes (real storms, not just cold) will also throw baro calibration. In mixed conditions (rain, wind, pressure swings), trust gross elevation gain less and rely on known repeats. Log the data anyway.
Actionable Next Steps: Your Test and Tune Workflow
-
Pick a known route you've done 2-3 times before, ideally 30-60 minutes long and with 500-1,000 feet of gain to detect error clearly.
-
Capture a reference elevation. Download the official GPX, or average three recent Strava logs from different runners on the same day. This is your ground truth.
-
Run the route on your watch with baro baseline freshly calibrated at the trailhead. Log the gross elevation gain.
-
Compare: Difference > 10%? Recalibrate your barometric baseline or check firmware. Difference < 5%? You have a baseline for that trail type and season.
-
Build your preset library. Create one preset per ecosystem (alpine, forest, urban canyons, snow) and test each. Store them locally on your device. Two is one, one is none.
-
Log every outing in cool conditions and one in cold. After 3-5 outings, you'll know your device's real behavior under stress. That knowledge is worth more than a marketing spec.
-
Share your field-tested multiplier with your community. If your local trail group knows that a route's true elevation is 15% higher than the watch reports, you all budget smarter.
The goal is predictability, not perfection. Endurance is a safety feature, and like any feature, it's engineered through testing, not guessed at trailside. Start small: one route, one watch, one season of logs. Then you own the data and the decisions that flow from it.
Related Articles